Brake pads are essential to your Corolla’s stopping power. Worn pads can compromise safety, increase stopping distance, and damage the rotors. If your Toyota Corolla brakes have started squealing, grinding, or feeling less responsive, it’s time to inspect your brake pads.
This guide shows you how to change brake pads on a Toyota Corolla step by step, clearly and safely—even if it’s your first DIY brake job. Whether you’re maintaining a 2015 LE or a 2020 SE, the process remains largely the same. Before you begin, gather your tools, set up a safe workspace, and prepare to handle one of the most vital maintenance tasks.
Understanding Brake Pads

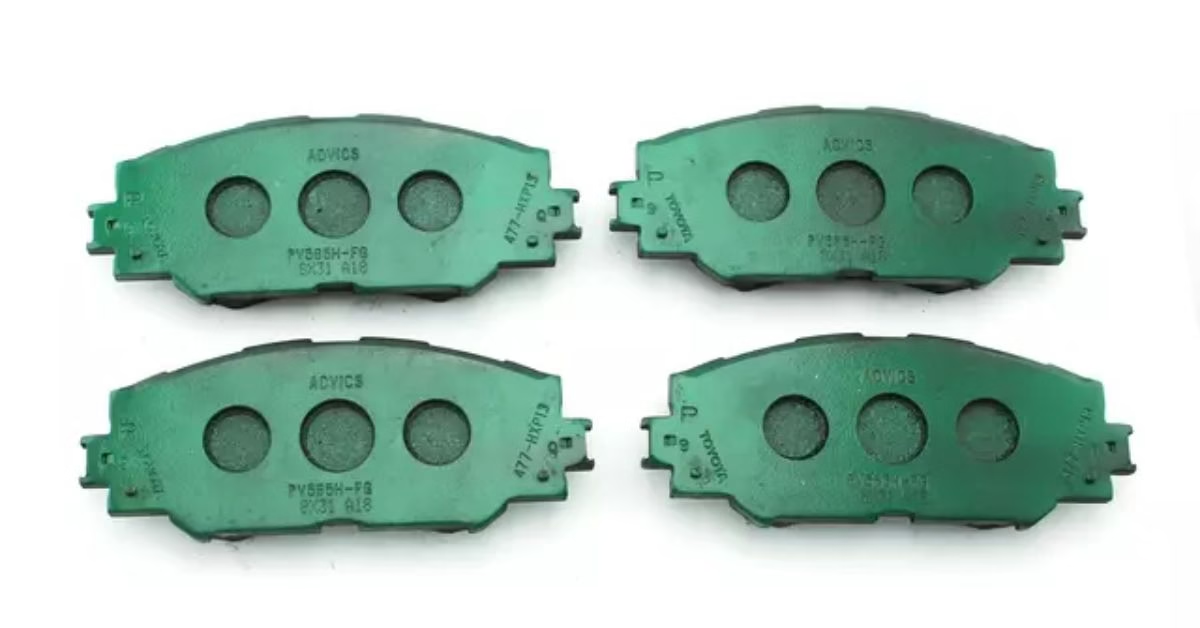
Brake pads are friction components that press against the brake rotors to slow your Toyota Corolla. When you step on the brake pedal, hydraulic pressure forces the calipers to squeeze the pads against the spinning rotors, converting motion into heat and bringing the car to a stop.
Over time, this friction wears down the pad material, eventually requiring a Toyota Corolla brake pad replacement to maintain safe stopping performance. Most Corolla models use semi-metallic or ceramic pads, both designed to balance braking power, noise, and longevity.
Worn pads often produce a high-pitched squeal, caused by a metal wear indicator scraping the rotor. You may also feel a vibration through the pedal if the pads wear unevenly or if debris lodges between the pad and rotor.
Some Corolla trims include a brake warning light that signals when the system detects reduced pad thickness. Common signs your brake pads need replacement include:
- High-pitched squealing when braking
- Vibration or pulsation through the brake pedal
- Brake warning light on the dashboard
Tools and Materials Needed

To safely and effectively change the brake pads on a Toyota Corolla, you’ll need a specific set of tools and materials. Each one plays a key role in making the job easier, safer, and more precise. Here’s what to use and why it matters—along with a few solid options in case you need to pick anything up.
- Jack and Jack Stands: A low-profile hydraulic jack is ideal for the Corolla’s ground clearance, making it easier to lift the car without scraping the frame. Jack stands are critical for keeping the car secure while you work, especially when removing both front wheels. If you’re looking for something reliable, the Torin Big Red T820014S jack and Pro-LifT T-6906D jack stands offer good stability without taking up much space.
- Lug Wrench: Before lifting the car, you’ll need to loosen the lug nuts. A cross-style wrench or telescoping one gives better leverage than what comes with the car. The Gorilla Automotive Lug Wrench has a comfortable grip and fits most factory lug nuts without stripping them.
- Socket Set: Brake calipers are usually held on with 12mm or 14mm bolts, depending on the model year. A deep, well-machined socket set helps avoid rounding off bolt heads, which is especially important if there’s rust. The Neiko 02448A 1/2″ Drive Socket Set is a decent all-rounder that works well for jobs like this.
- Torque Wrench: Tightening caliper bolts or wheel lug nuts to factory specs helps prevent warping or uneven pad wear. A click-style torque wrench like the EPAuto 1/2-Inch Drive makes it easy to feel and hear when you’ve hit the right torque, even if you’re not a pro mechanic.
- Brake Caliper Tool: When fitting new pads, you’ll need to retract the caliper piston. This step is where many people struggle if they try to improvise with screwdrivers. A simple tool like the Powerbuilt Brake Caliper Tool Set applies even pressure and helps avoid damaging the piston boot.
- Brake Cleaner: Even new rotors and pads can carry oil residue from manufacturing. Spray-on brake cleaner removes grime, brake dust, and oils quickly without leaving behind a film. CRC Brakleen is widely used in shops and works fast with minimal smell.
- New Brake Pads: A good set of pads can make a huge difference in pedal feel and stopping distance. Look for ones that come with shims and anti-rattle clips. If you’re undecided, Bosch QuietCast and Wagner ThermoQuiet both strike a good balance between quiet performance and rotor life.
- Safety Glasses: When using brake cleaner or brushing down rotors, debris can become airborne. Basic wraparound glasses like those from NoCry stay in place and offer full side protection.
- Work Gloves: Brake jobs aren’t especially dangerous, but you’ll be dealing with sharp edges, grit, and compressed hardware. A pair like the Ironclad General Utility Gloves gives you solid grip and helps avoid scraped knuckles, especially when removing the caliper bolts or prying off clips.
Disclosure: This article contains affiliate links. If you buy through these links, we may earn a small commission at no extra cost to you.
Step-by-Step Guide on How to Change Brake Pads on a Toyota Corolla

1. Preparation
Start by parking your Corolla on a level surface. Set the parking brake firmly to prevent movement during the job. Place wheel chocks behind the rear wheels if you’re working on the front brakes. Loosen the lug nuts slightly while the car is still on the ground.
2. Removing the Wheel
Use a jack to lift the vehicle at the designated jack point behind the front wheel. Secure the car with jack stands under the pinch weld or subframe. Once stable, finish loosening the lug nuts and remove the wheel completely to expose the brake assembly.
3. Accessing the Brake Pads
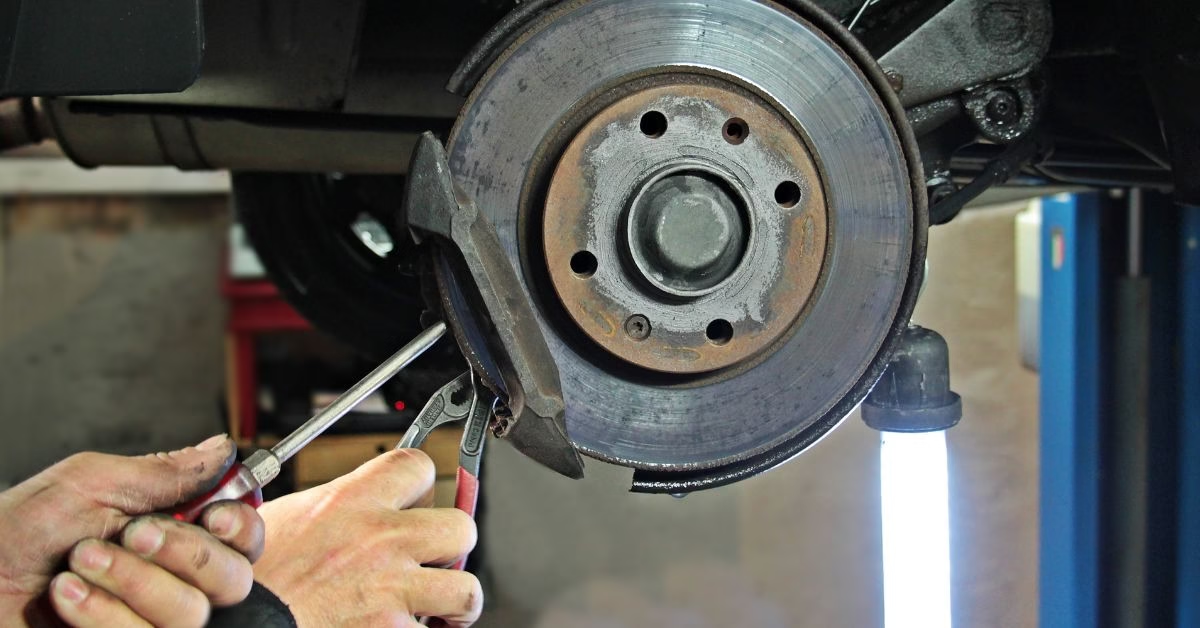
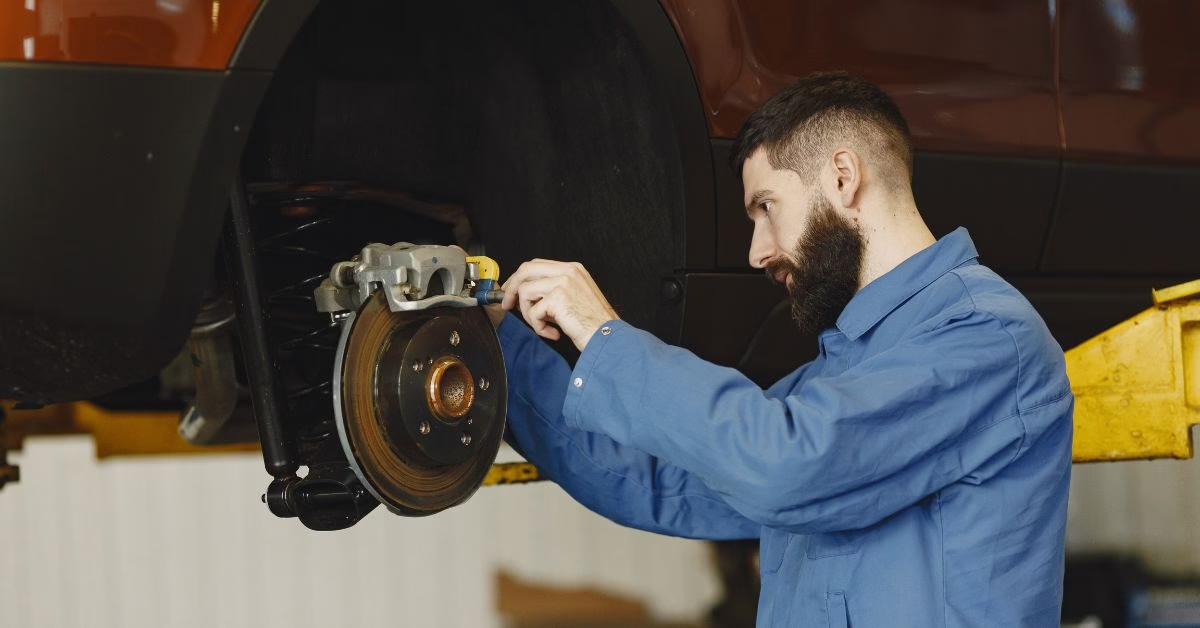
Locate the brake caliper mounted over the rotor. Use a socket wrench to remove the two caliper bolts at the rear of the caliper. Carefully slide the caliper off the rotor. Hang it from the suspension spring using a bungee cord or wire hanger—avoid letting it dangle by the brake hose.
4. Removing Old Brake Pads
Take note of how the old pads are positioned in the caliper bracket. Slide them out carefully, then inspect the rotor for grooves, glazing, or uneven wear. If the rotor surface is rough or deeply scored, resurfacing or replacement may be needed.
5. Installing New Brake Pads
Clean the rotor face with brake cleaner to remove any residue. If your pads came with anti-rattle clips, install them according to the pad design. Use a C-clamp or brake caliper tool to slowly compress the caliper piston until it’s flush with the caliper housing. This creates enough space for the new, thicker pads. Slide the new brake pads into the bracket, matching the orientation of the old ones.
6. Reassembling the Brake System
Once the new pads are in place, reposition the caliper over the bracket and pads. Align the bolt holes and thread the caliper bolts in by hand to avoid cross-threading. Tighten them with a torque wrench to the manufacturer’s specified torque, usually around 25–35 ft-lbs for most Corolla models.
7. Replacing the Wheel
Reinstall the wheel on the hub and thread the lug nuts on by hand. Lower the vehicle slowly using the jack, then tighten the lug nuts in a star pattern to ensure even pressure. Use a torque wrench to finish tightening them to spec—usually 76–80 ft-lbs for the Corolla.
Testing the Brakes
Before driving, it’s critical to test the brakes to confirm the installation was done correctly and the system is functioning safely. New pads won’t perform at their best until they bed into the rotors, and the brake pedal may initially feel soft if the caliper pistons haven’t fully reset.
Skipping this step can result in reduced braking power or uneven pad wear. Take the time to follow each step below to ensure proper pad seating and consistent pedal pressure.
- Pump the brake pedal several times before starting the car. (This allows the caliper pistons to reposition and ensures the pads are seated against the rotors.)
- When the pedal feels firm, start the engine and check for any unusual dashboard warnings.
- During the test drive, keep speeds under 30 mph and apply the brakes gradually.
- Listen for any grinding, squealing, or uneven braking response.
- If the car pulls to one side or the pedal feels spongy, double-check caliper bolt torque and pad placement.
- Avoid sudden stops during the first 100 miles, as the pads need time to bed into the rotor surface for optimal performance.
Conclusion
Changing brake pads on a Toyota Corolla is a straightforward job with the right tools and attention to detail. A DIY Corolla brake pad replacement prevents rotor damage, improves brake response, and helps maintain safe stopping distances.
The steps may feel intimidating at first, but working methodically builds confidence and skill. If anything feels off during the test drive or installation, don’t hesitate to consult a professional. A properly done brake job keeps your Corolla safe, responsive, and ready for the road.

